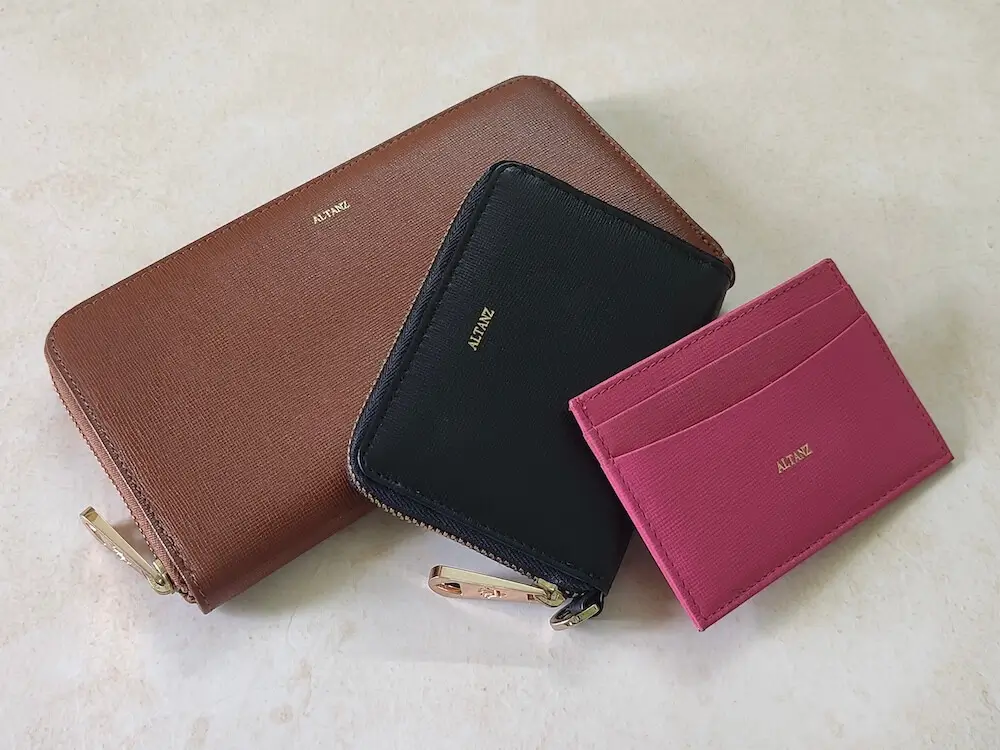
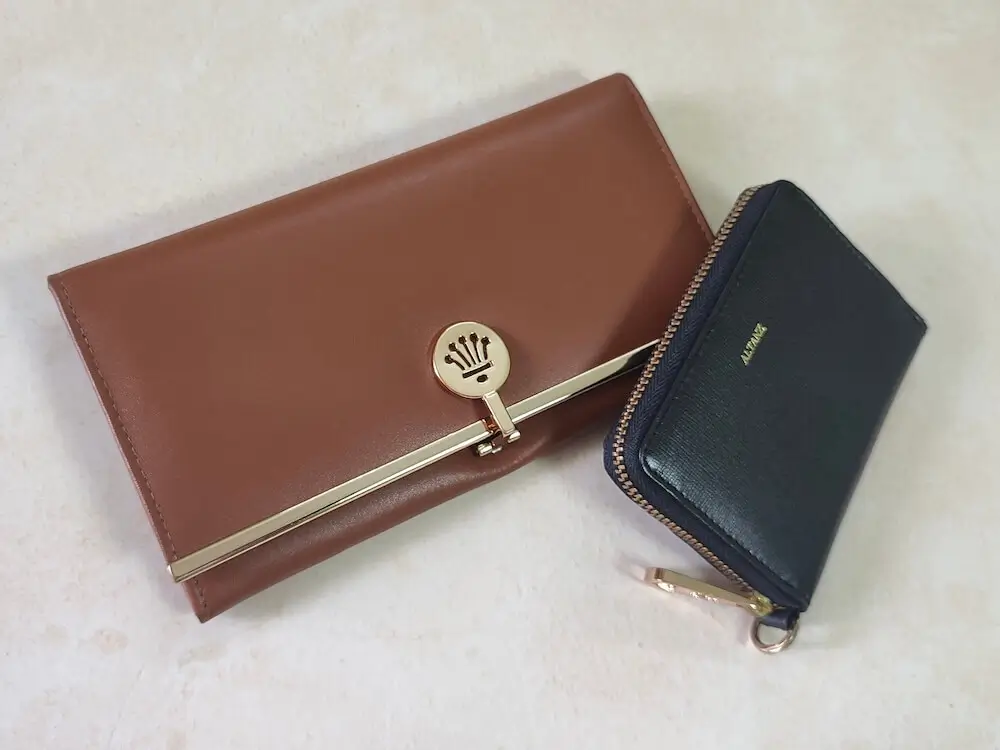
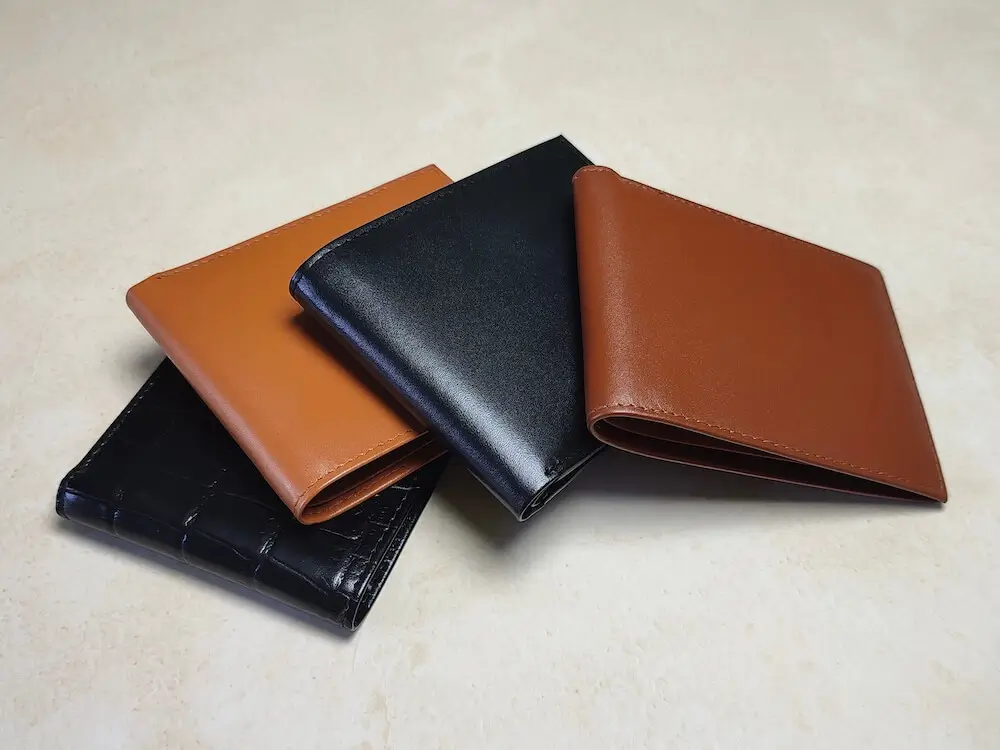
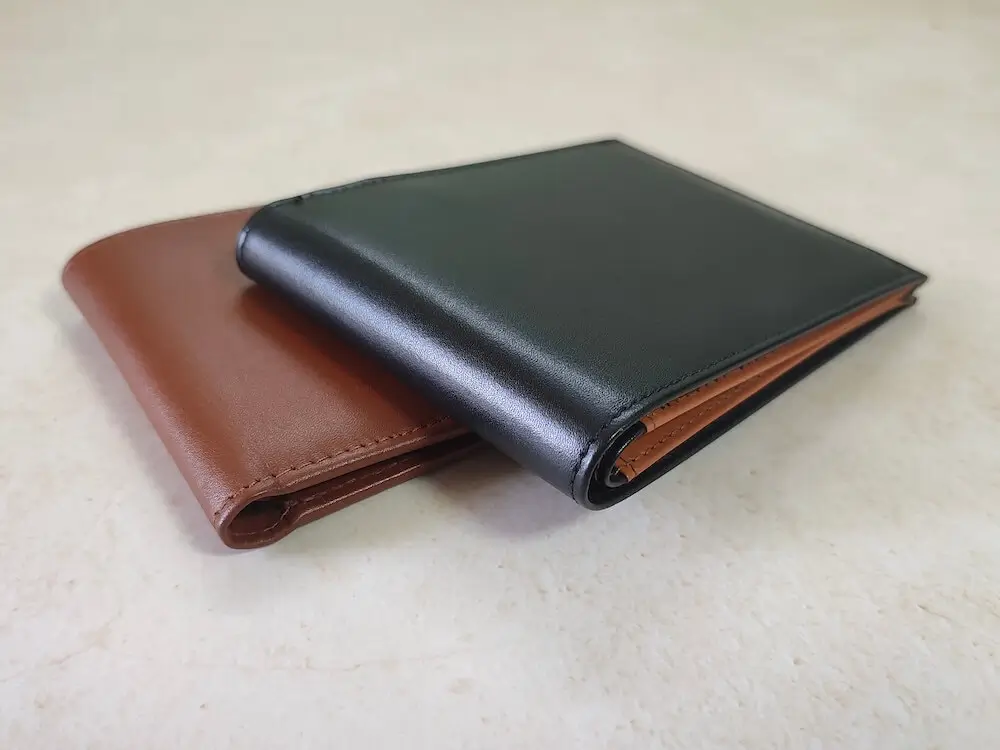
Leather Care & Maintenance
A Step-by-Step Guide to Restoring Old Leather Goods
Introduction
Old leather goods often carry a unique charm that new items simply can’t replicate. Whether it’s a vintage leather jacket, a family heirloom sofa, or a beloved bag, these items deserve a second chance at life. Over time, leather can lose its luster due to exposure to sunlight, moisture, and general wear and tear. Restoring such pieces not only revives their beauty but also extends their functionality.
Leather restoration isn’t just about aesthetics—it’s also a sustainable practice. By breathing new life into old leather, you reduce waste and honor the craftsmanship behind these timeless goods. This guide provides a step-by-step approach to restoring leather, ensuring your cherished pieces remain in excellent condition for years to come.
Table of Contents
- Introduction
- Understanding Leather Restoration
- Preparing for Restoration
- Cleaning the Leather
- Repairing Damage
- Restoring Color and Shine
- Preventive Care After Restoration
- DIY vs. Professional Restoration
- Common Mistakes to Avoid
- The Benefits of Restoring Old Leather Goods
- Conclusion
- FAQs
Understanding Leather Restoration
Types of Leather
Before beginning the restoration process, it’s crucial to identify the type of leather you’re working with. Full-grain leather, known for its durability and natural imperfections, responds differently to restoration than top-grain leather, which has a smoother, processed surface. Bonded and synthetic leathers, on the other hand, may require specialized techniques due to their lower durability and artificial composition.
Understanding the leather type helps determine the right products and methods to use, ensuring a safe and effective restoration.
Signs Your Leather Needs Restoration
Is your leather cracking, fading, or showing stains? These are clear indicators that it’s time for a restoration project. Other signs include loss of texture, brittleness, and discoloration caused by prolonged exposure to sunlight or humidity.
Ignoring these warning signs can lead to irreversible damage. Early intervention is key to maintaining the integrity of your leather goods.
Preparing for Restoration
Assessing the Damage
Before diving in, examine the leather item thoroughly. Identify areas that need attention, such as scratches, cracks, or stains. Determine whether the damage is superficial or structural. Minor scuffs and discoloration can usually be handled at home, but extensive tears or severe fading may require professional help.
Taking the time to assess the damage ensures you use the right techniques and avoid causing further harm.
Gathering the Necessary Supplies
Restoration success depends on using the right tools and materials. Basic supplies include:
- A soft cloth for cleaning
- Mild leather cleaner or soap
- Leather conditioner
- Leather filler for cracks
- Dye or colorant for restoring faded areas
- Sealants and protective sprays
Investing in high-quality products designed specifically for leather ensures better results and prolongs the life of your restored items.
Cleaning the Leather
Removing Dust and Debris
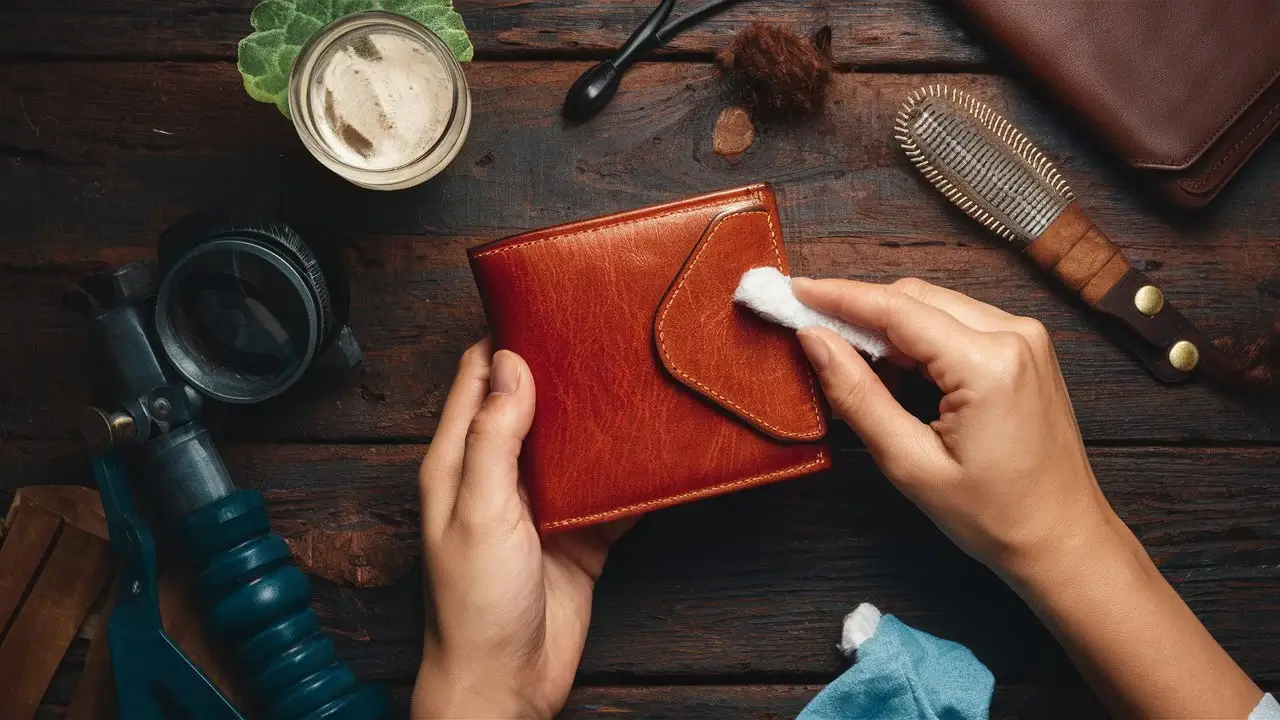
Start by giving your leather a good surface clean. Use a soft, lint-free cloth to wipe away dust and dirt. For stubborn grime, a damp cloth with a mild leather cleaner can do wonders. Ensure the cleaner is evenly distributed and avoid scrubbing, which can damage the leather’s surface.
Cleaning sets the stage for restoration by preparing the material for deeper treatments. A clean surface ensures that conditioners, fillers, and dyes adhere properly.
Deep Cleaning for Stubborn Stains
For deeper stains, like ink or watermarks, more intensive cleaning is required. Use a leather-safe stain remover or a homemade solution of vinegar and water. Apply gently with a cloth and avoid soaking the leather, as excess moisture can cause further damage.
Mold or mildew? Mix equal parts rubbing alcohol and water to clean the affected area. Allow the leather to dry naturally before proceeding to the next steps.
Repairing Damage
Fixing Scratches and Scuffs
Minor scratches and scuffs can often be fixed with a leather repair kit or wax. Apply the product to the affected area and buff gently to blend it with the surrounding surface. For deeper scratches, a leather filler may be required to restore the smooth texture.
These repairs, when done carefully, restore the item’s appearance without compromising its natural character.
Treating Cracks and Tears
Cracks and tears require more advanced techniques. Small cracks can be treated with leather filler and conditioner, while larger tears may need patch kits or stitching. When using a patch, ensure the color and texture match the original leather for a seamless look.
Patience is essential—rushing through repairs can lead to uneven finishes or further damage.
Restoring Color and Shine
Dyeing Faded Leather
Restoring the original color of leather is a crucial step in reviving its appearance. Start by selecting a leather dye that matches the item’s original hue. Clean the leather thoroughly to ensure the dye adheres evenly. Use a sponge or soft cloth to apply the dye in thin, even layers, allowing each layer to dry completely before adding another.
For a professional finish, consider using a spray applicator for larger items like sofas or jackets. Once the dyeing process is complete, apply a leather finish or sealant to lock in the color and provide a protective barrier against fading.
Conditioning for Suppleness
Once the color has been restored, conditioning the leather is essential to bring back its natural texture and flexibility. A high-quality leather conditioner rehydrates the material, preventing cracks and brittleness. Use a soft cloth to apply the conditioner in circular motions, allowing it to penetrate the leather deeply.
Conditioning not only restores suppleness but also enhances the sheen, giving the leather a rejuvenated and polished look. Repeat this process every few months to maintain the leather’s texture and luster.
Preventive Care After Restoration
Applying Protective Coatings
To ensure the longevity of your restored leather, apply a protective coating. Weatherproof sprays and sealants safeguard the material from moisture, stains, and UV damage. Choose a product designed for your leather type, and apply it evenly to form a durable barrier.
Protective coatings are especially important for items frequently exposed to the elements, such as bags, shoes, or furniture near windows. Regular application can significantly extend the life of your leather goods.
Storage Tips to Prevent Wear
Proper storage plays a vital role in maintaining restored leather. Keep leather items in a cool, dry place, away from direct sunlight and heat sources. Use dust bags for accessories like handbags and shoes, and store jackets on padded hangers to maintain their shape.
Avoid overcrowding leather items, as this can cause creases and deformation. Implementing these storage practices ensures your restored leather remains in pristine condition.
DIY vs. Professional Restoration
When to Choose DIY
DIY restoration is ideal for minor issues like scratches, small stains, or slight fading. It’s cost-effective and allows you to maintain your leather goods with minimal expense. With the right tools and patience, you can achieve impressive results at home.
However, DIY requires careful research and attention to detail. Rushing through the process or using improper products can lead to further damage, so always proceed with caution.
When to Seek Professional Help
For severe damage, such as large tears, deep cracks, or major discoloration, professional restoration is often the best choice. Experts have access to advanced tools and specialized techniques that can restore even heavily damaged leather to its former glory.
While professional services may be more expensive, they provide peace of mind and superior results, particularly for high-end or sentimental leather items.
Common Mistakes to Avoid
Using Incorrect Cleaning Products
One of the most common mistakes is using harsh household cleaners on leather. Products like bleach, ammonia, and alcohol can strip leather of its natural oils, leaving it dry and brittle.
Always opt for cleaners specifically formulated for leather. If you’re unsure, test the product on a small, hidden area before applying it more broadly.
Overloading with Products
Over-conditioning or applying excessive amounts of dye can overwhelm the leather, causing it to look greasy or unnatural. Moderation is key—apply products sparingly and build up layers gradually.
Follow the manufacturer’s instructions carefully and avoid using too many products at once, which can create buildup and hinder the leather’s ability to breathe.
The Benefits of Restoring Old Leather Goods
Prolonging Product Life
Restoring leather extends the life of your beloved items, saving you money in the long run. Instead of replacing worn-out pieces, restoration allows you to enjoy them for years to come.
This practice is also environmentally friendly, as it reduces waste and promotes sustainability by maximizing the usability of existing materials.
Preserving Sentimental Value
Leather items often hold sentimental value, such as a family heirloom or a gift from a loved one. Restoring these pieces preserves their history and emotional significance.
For example, an old leather chair passed down through generations can be restored to its former elegance, continuing to serve as a cherished centerpiece in your home.
Conclusion
Restoring old leather goods is a rewarding process that combines care, patience, and the right tools. By understanding your leather type, thoroughly cleaning and repairing damage, and applying the appropriate products, you can bring your cherished items back to life. Whether you choose a DIY approach or enlist professional help, the effort ensures your leather retains its beauty and functionality for years to come.
Restoration is more than just a practical task—it’s an opportunity to preserve memories and make sustainable choices. With this guide, you’re well-equipped to tackle any leather restoration project and give your treasured items the attention they deserve.
FAQs
-
Can old leather always be restored?
Not all leather can be fully restored. Severe damage, such as extensive rotting or irreparable tears, may require replacement. However, most minor to moderate issues can be fixed with the right approach. -
What’s the best way to fix deep cracks in leather?
Deep cracks can be repaired using leather filler and a conditioning treatment. For severe cracks, professional assistance may be necessary to ensure a seamless repair. -
How often should I condition restored leather?
Restored leather should be conditioned every 3–6 months, depending on usage and environmental factors. Regular conditioning prevents drying and cracking. -
Are DIY leather repair kits worth it?
Yes, for minor issues, DIY leather repair kits are a cost-effective option. Ensure the kit is compatible with your leather type and follow the instructions carefully for the best results. -
Can faded leather be restored to its original color?
Yes, leather dye can effectively restore faded items. Matching the original color and applying it evenly are essential for a professional finish.
FAQ : Frequently Asked Questions
A Step-by-Step Guide to Restoring Old Leather Goods
Answer:
Not all leather can be fully restored. Severe damage, such as extensive rotting or irreparable tears, may require replacement. However, most minor to moderate issues can be fixed with the right approach.
Answer:
Deep cracks can be repaired using leather filler and a conditioning treatment. For severe cracks, professional assistance may be necessary to ensure a seamless repair.
Answer:
Restored leather should be conditioned every 3–6 months, depending on usage and environmental factors. Regular conditioning prevents drying and cracking.
Answer:
Yes, for minor issues, DIY leather repair kits are a cost-effective option. Ensure the kit is compatible with your leather type and follow the instructions carefully for the best results.
Answer:
Yes, leather dye can effectively restore faded items. Matching the original color and applying it evenly are essential for a professional finish.


